
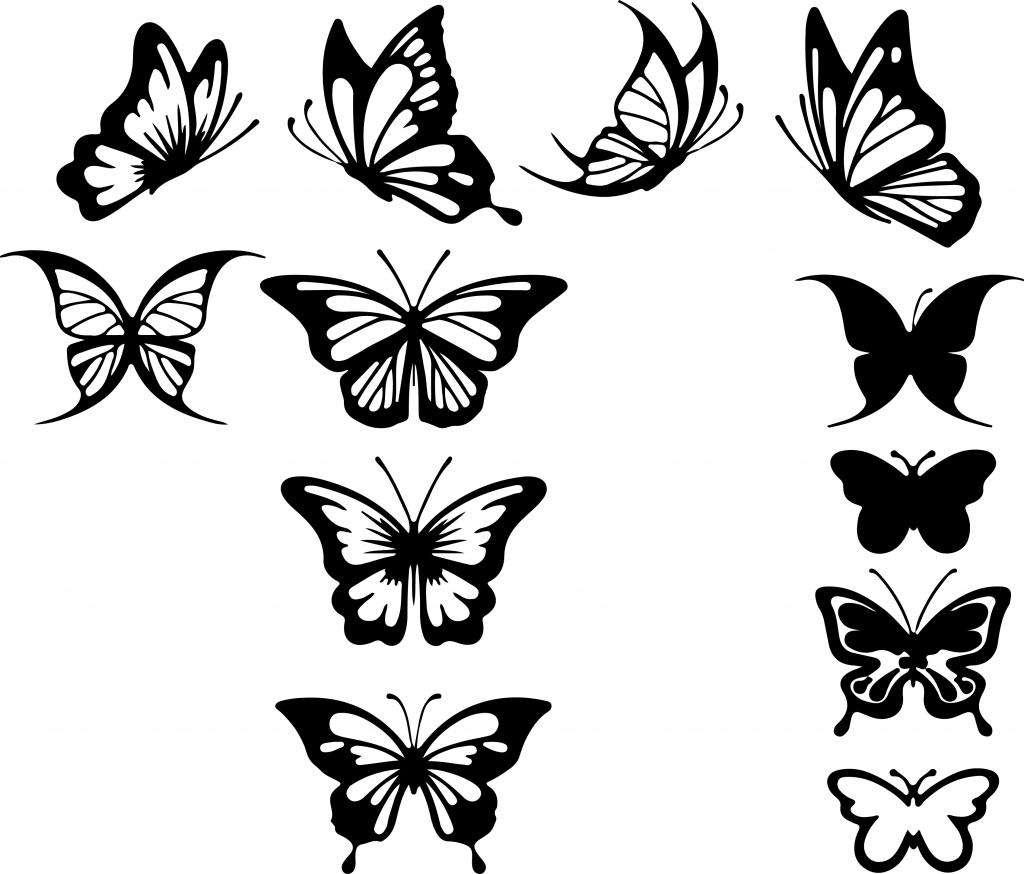
Introduction
Butterflies are fascinating creatures that captivate our imagination with their vibrant colors and graceful movements. If you have ever wanted to create your own butterfly artwork, learning how to draw a butterfly outline is a great place to start. This article will guide you through the process of drawing a butterfly outline step by step, allowing you to unleash your creativity and create stunning butterfly art.
Gathering Your Materials

Before you begin your butterfly drawing, make sure you have all the necessary materials. You will need a pencil, eraser, drawing paper, and colored pencils or markers to add color to your artwork. Having a reference image of a butterfly can also be helpful to ensure accuracy.
Step 1: Drawing the Body
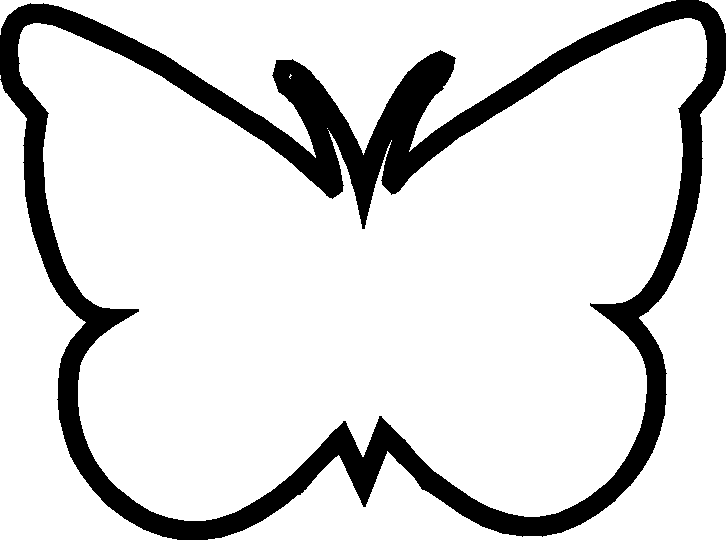
Start by drawing a small oval shape in the center of your paper. This will be the body of your butterfly. Keep the lines light and easy to erase in case you need to make adjustments later.
Step 2: Adding the Wings
Extend two curved lines outward from the top and bottom of the butterfly's body. These lines will serve as a guide for the shape of the wings. Remember, butterflies have symmetrical wings, so try to make both sides as equal as possible.
Step 3: Outlining the Wings
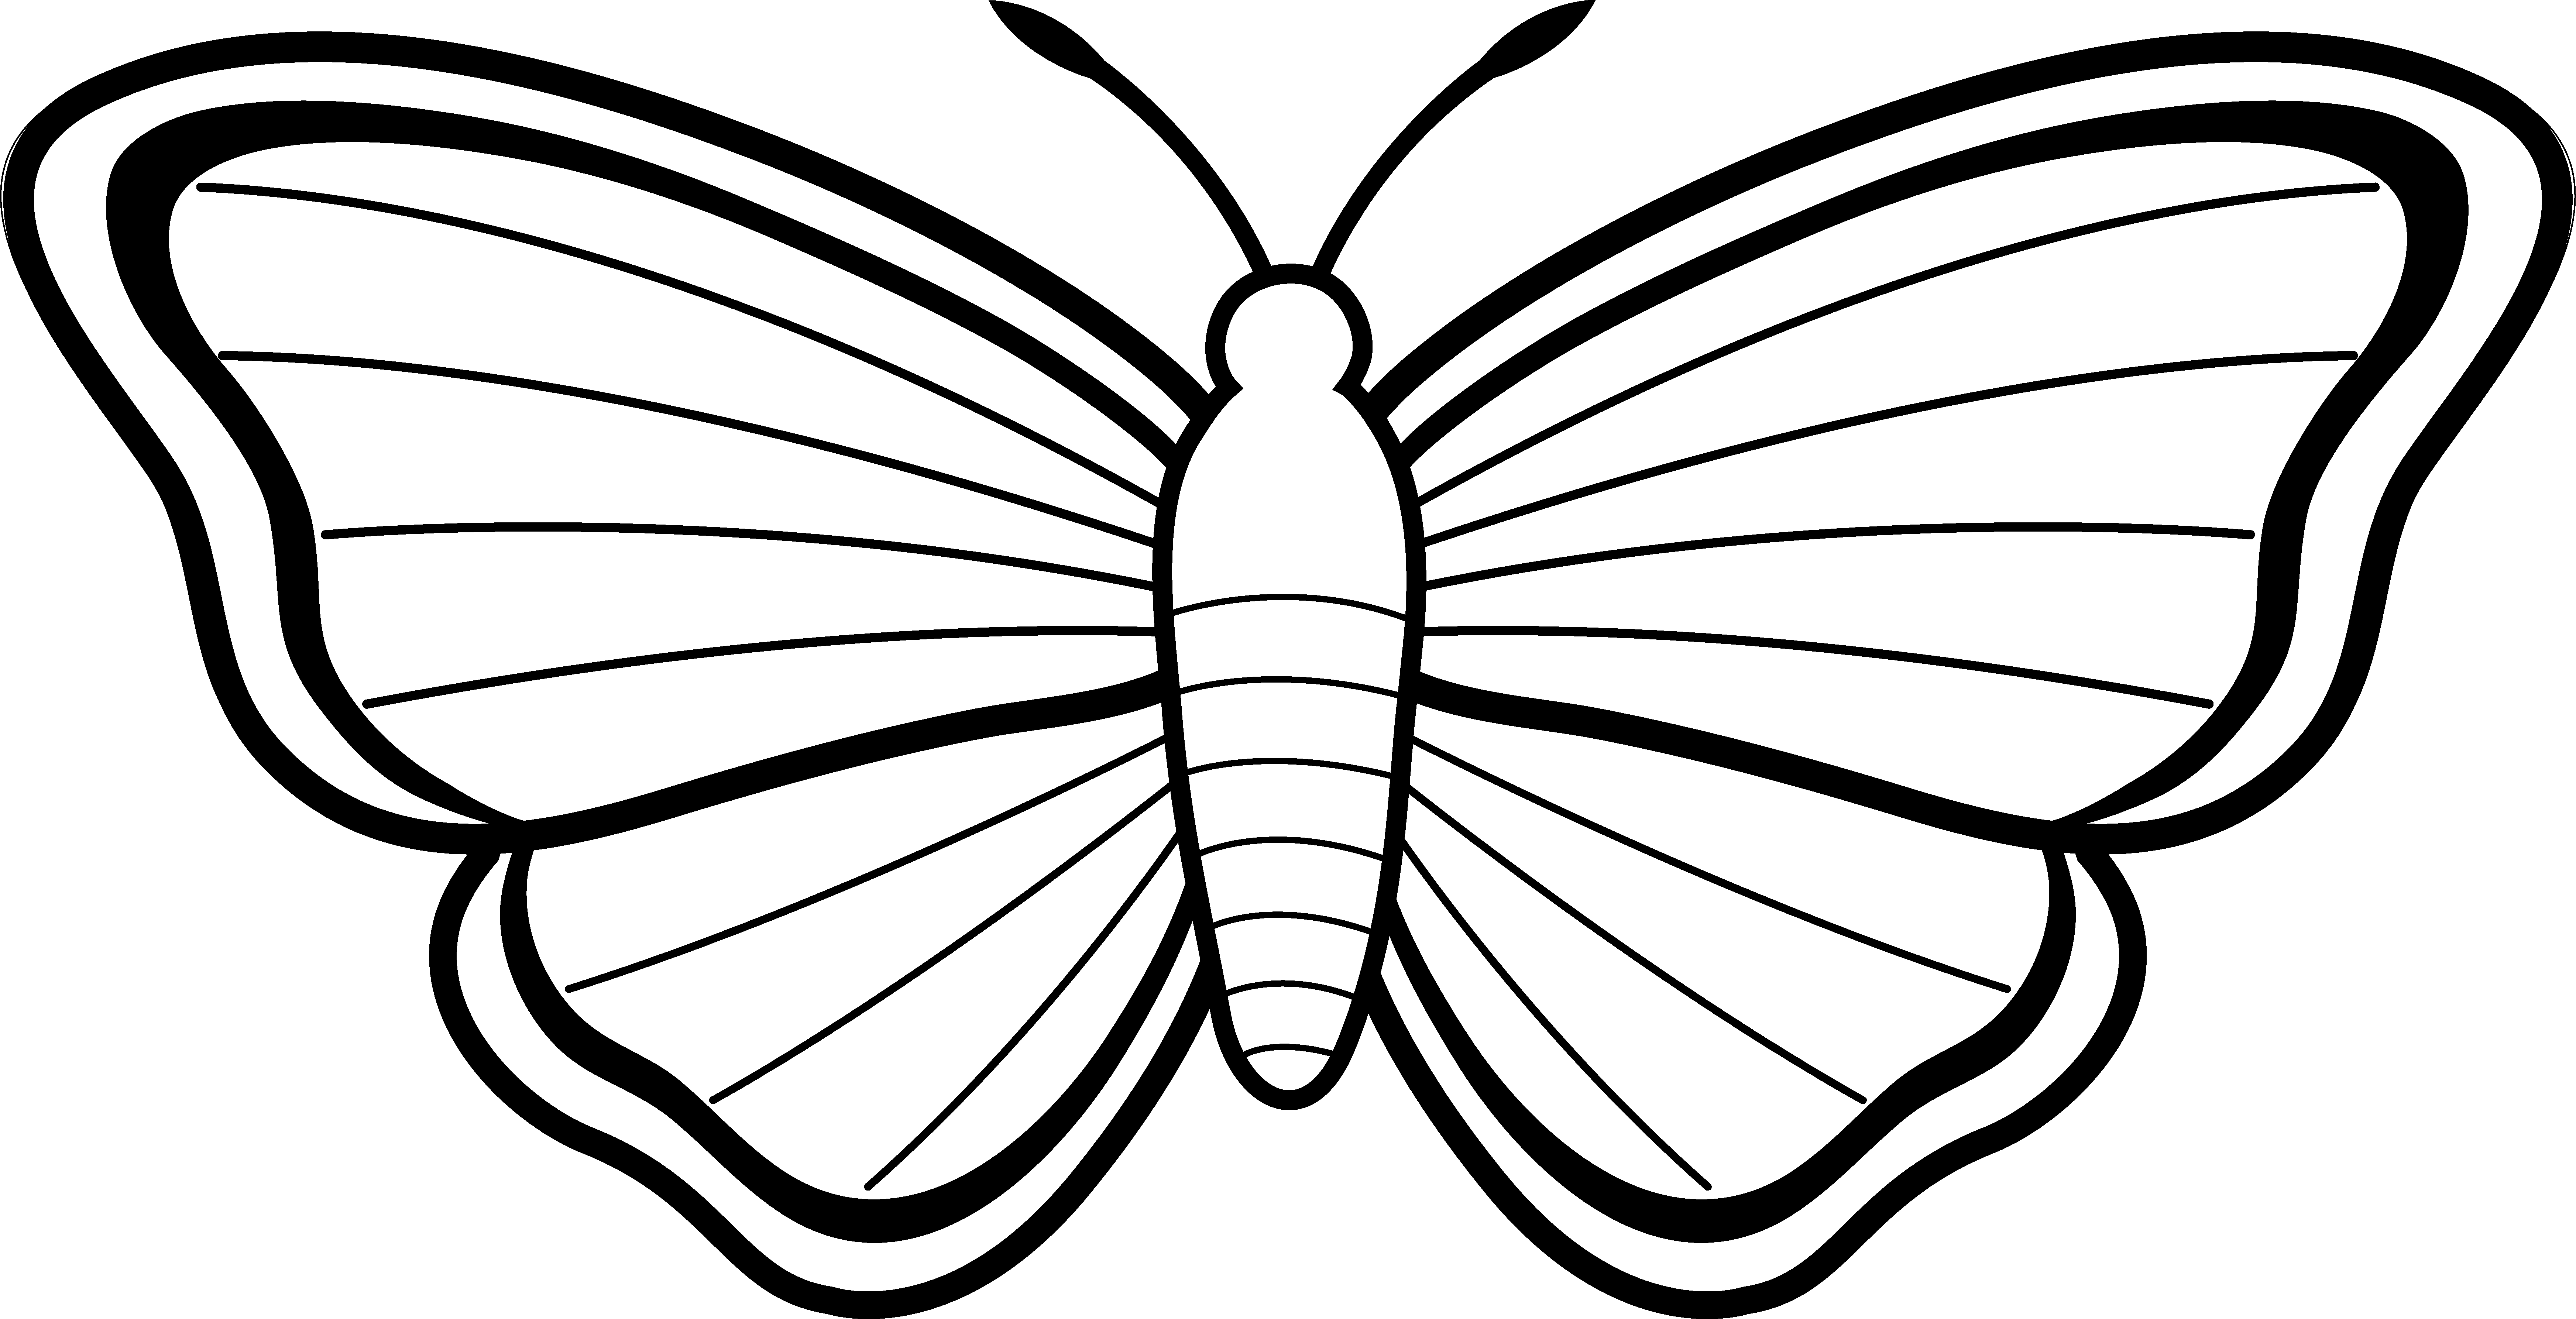
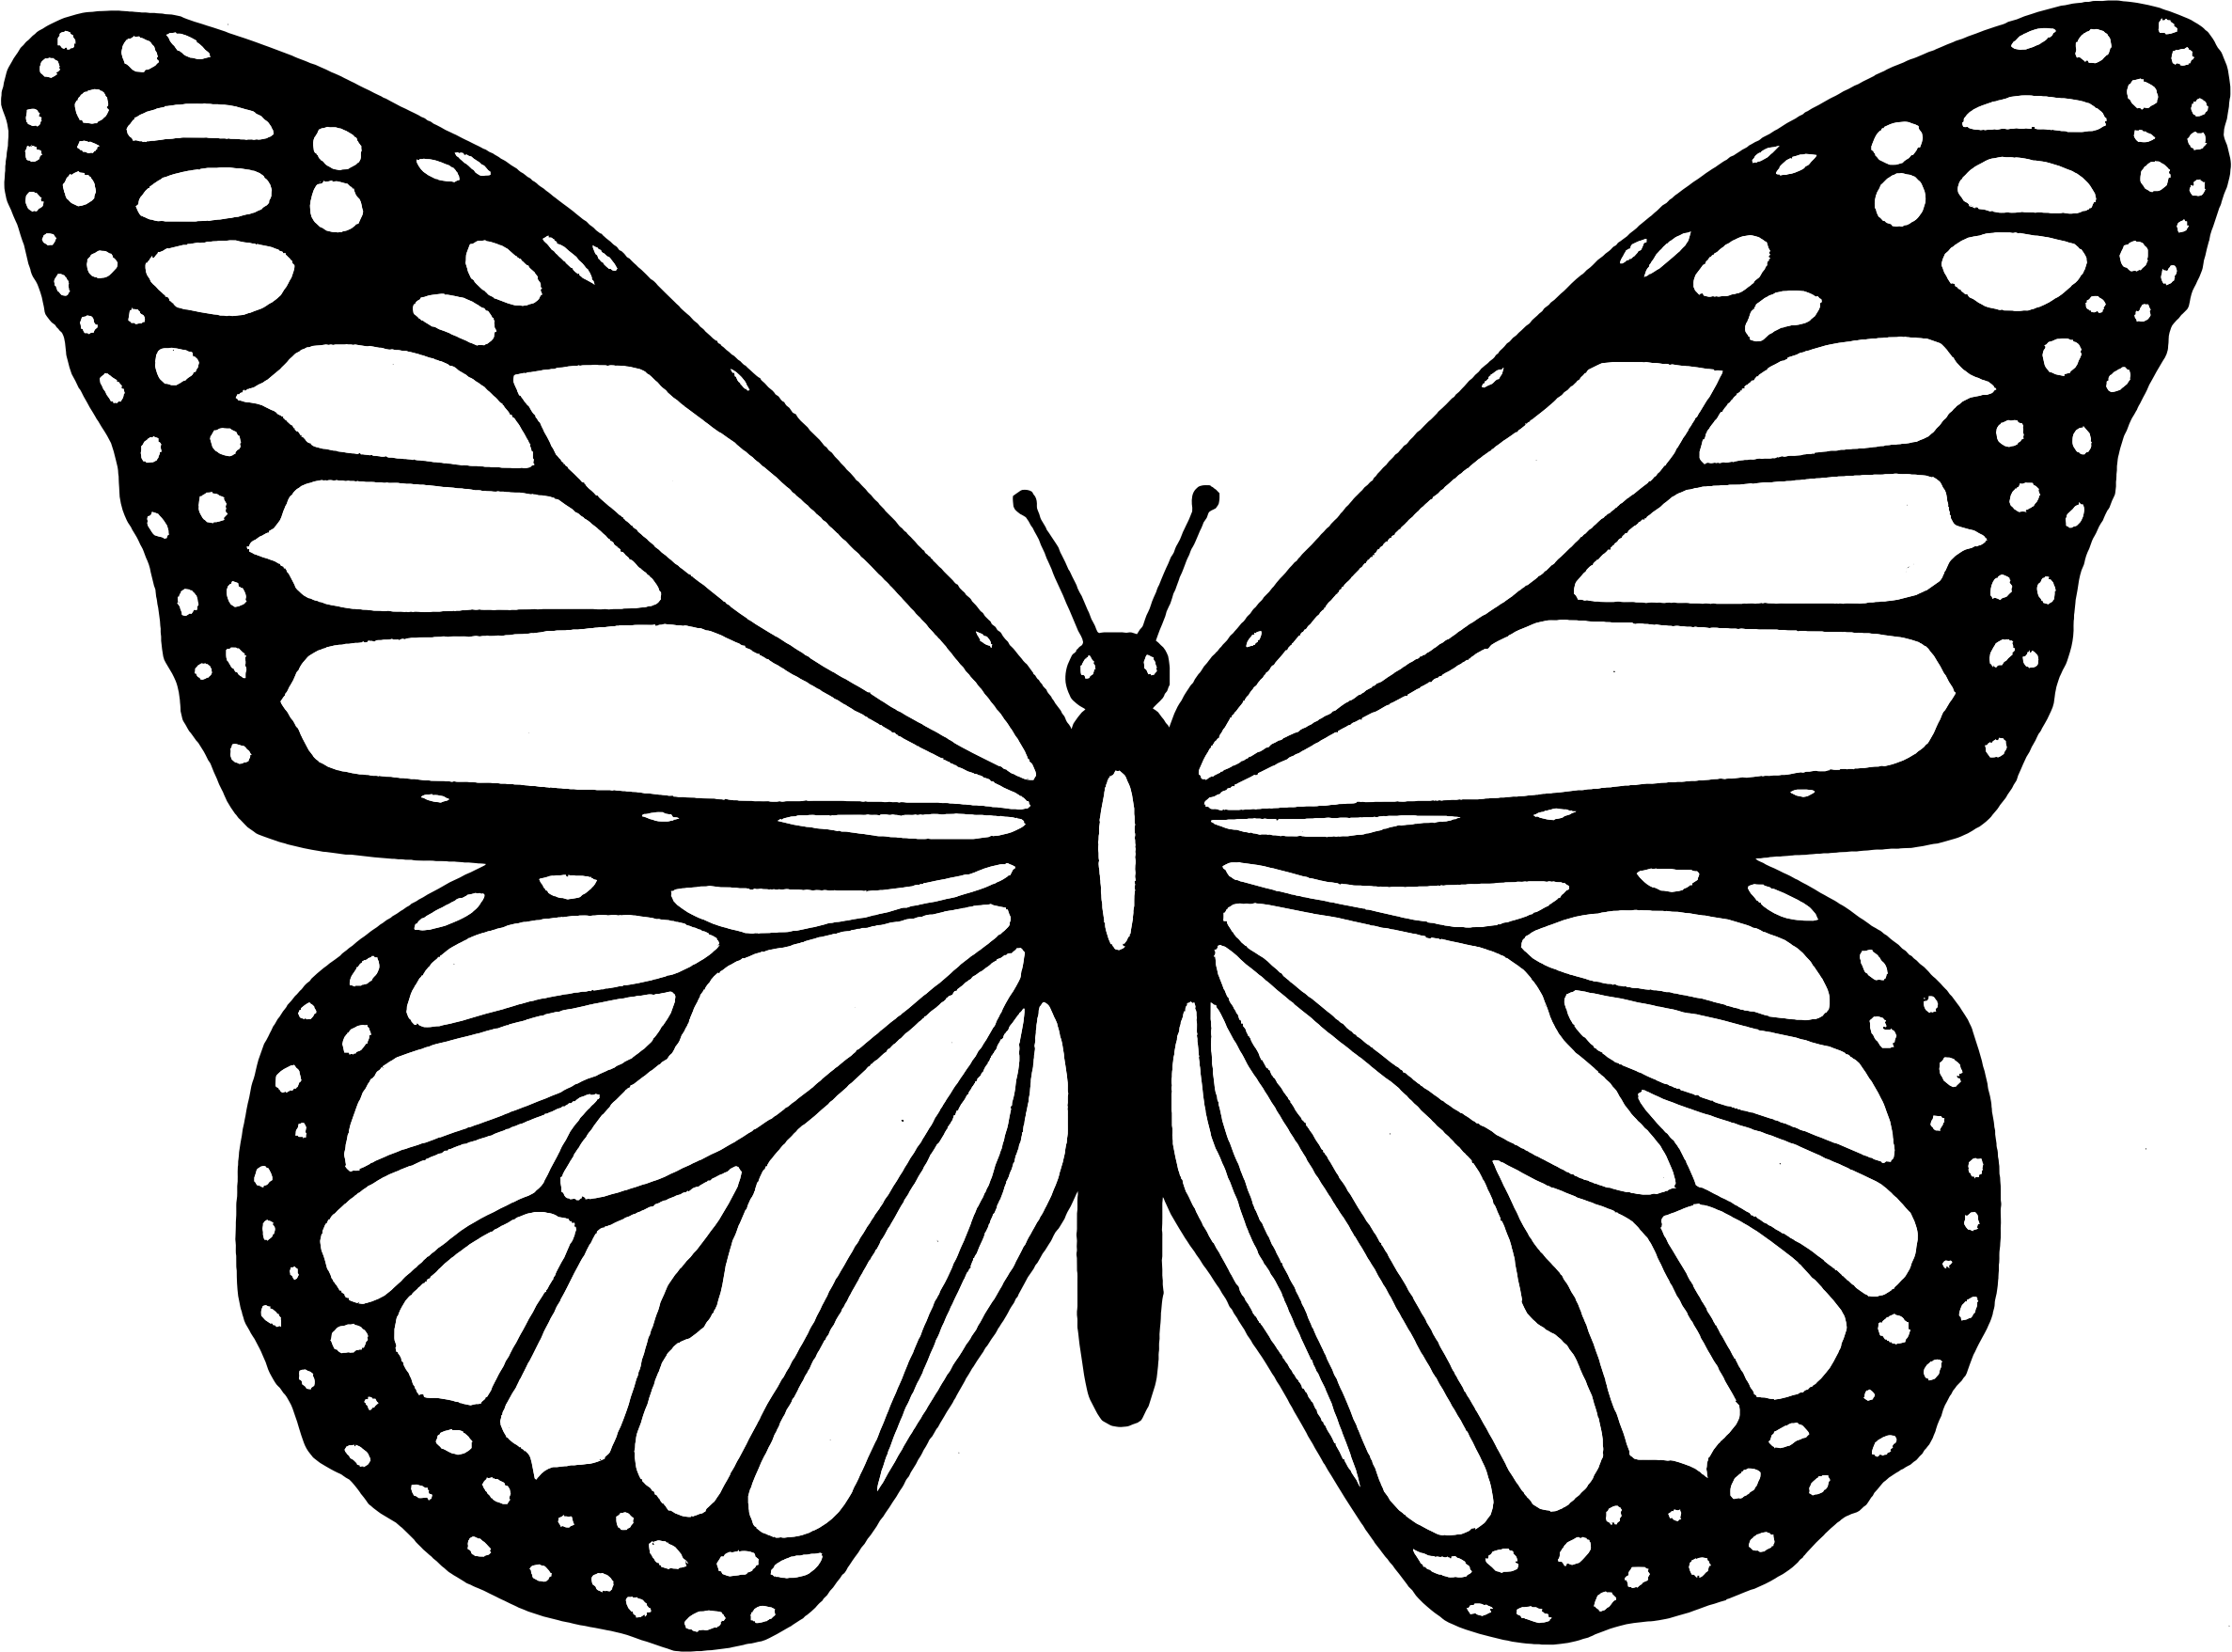
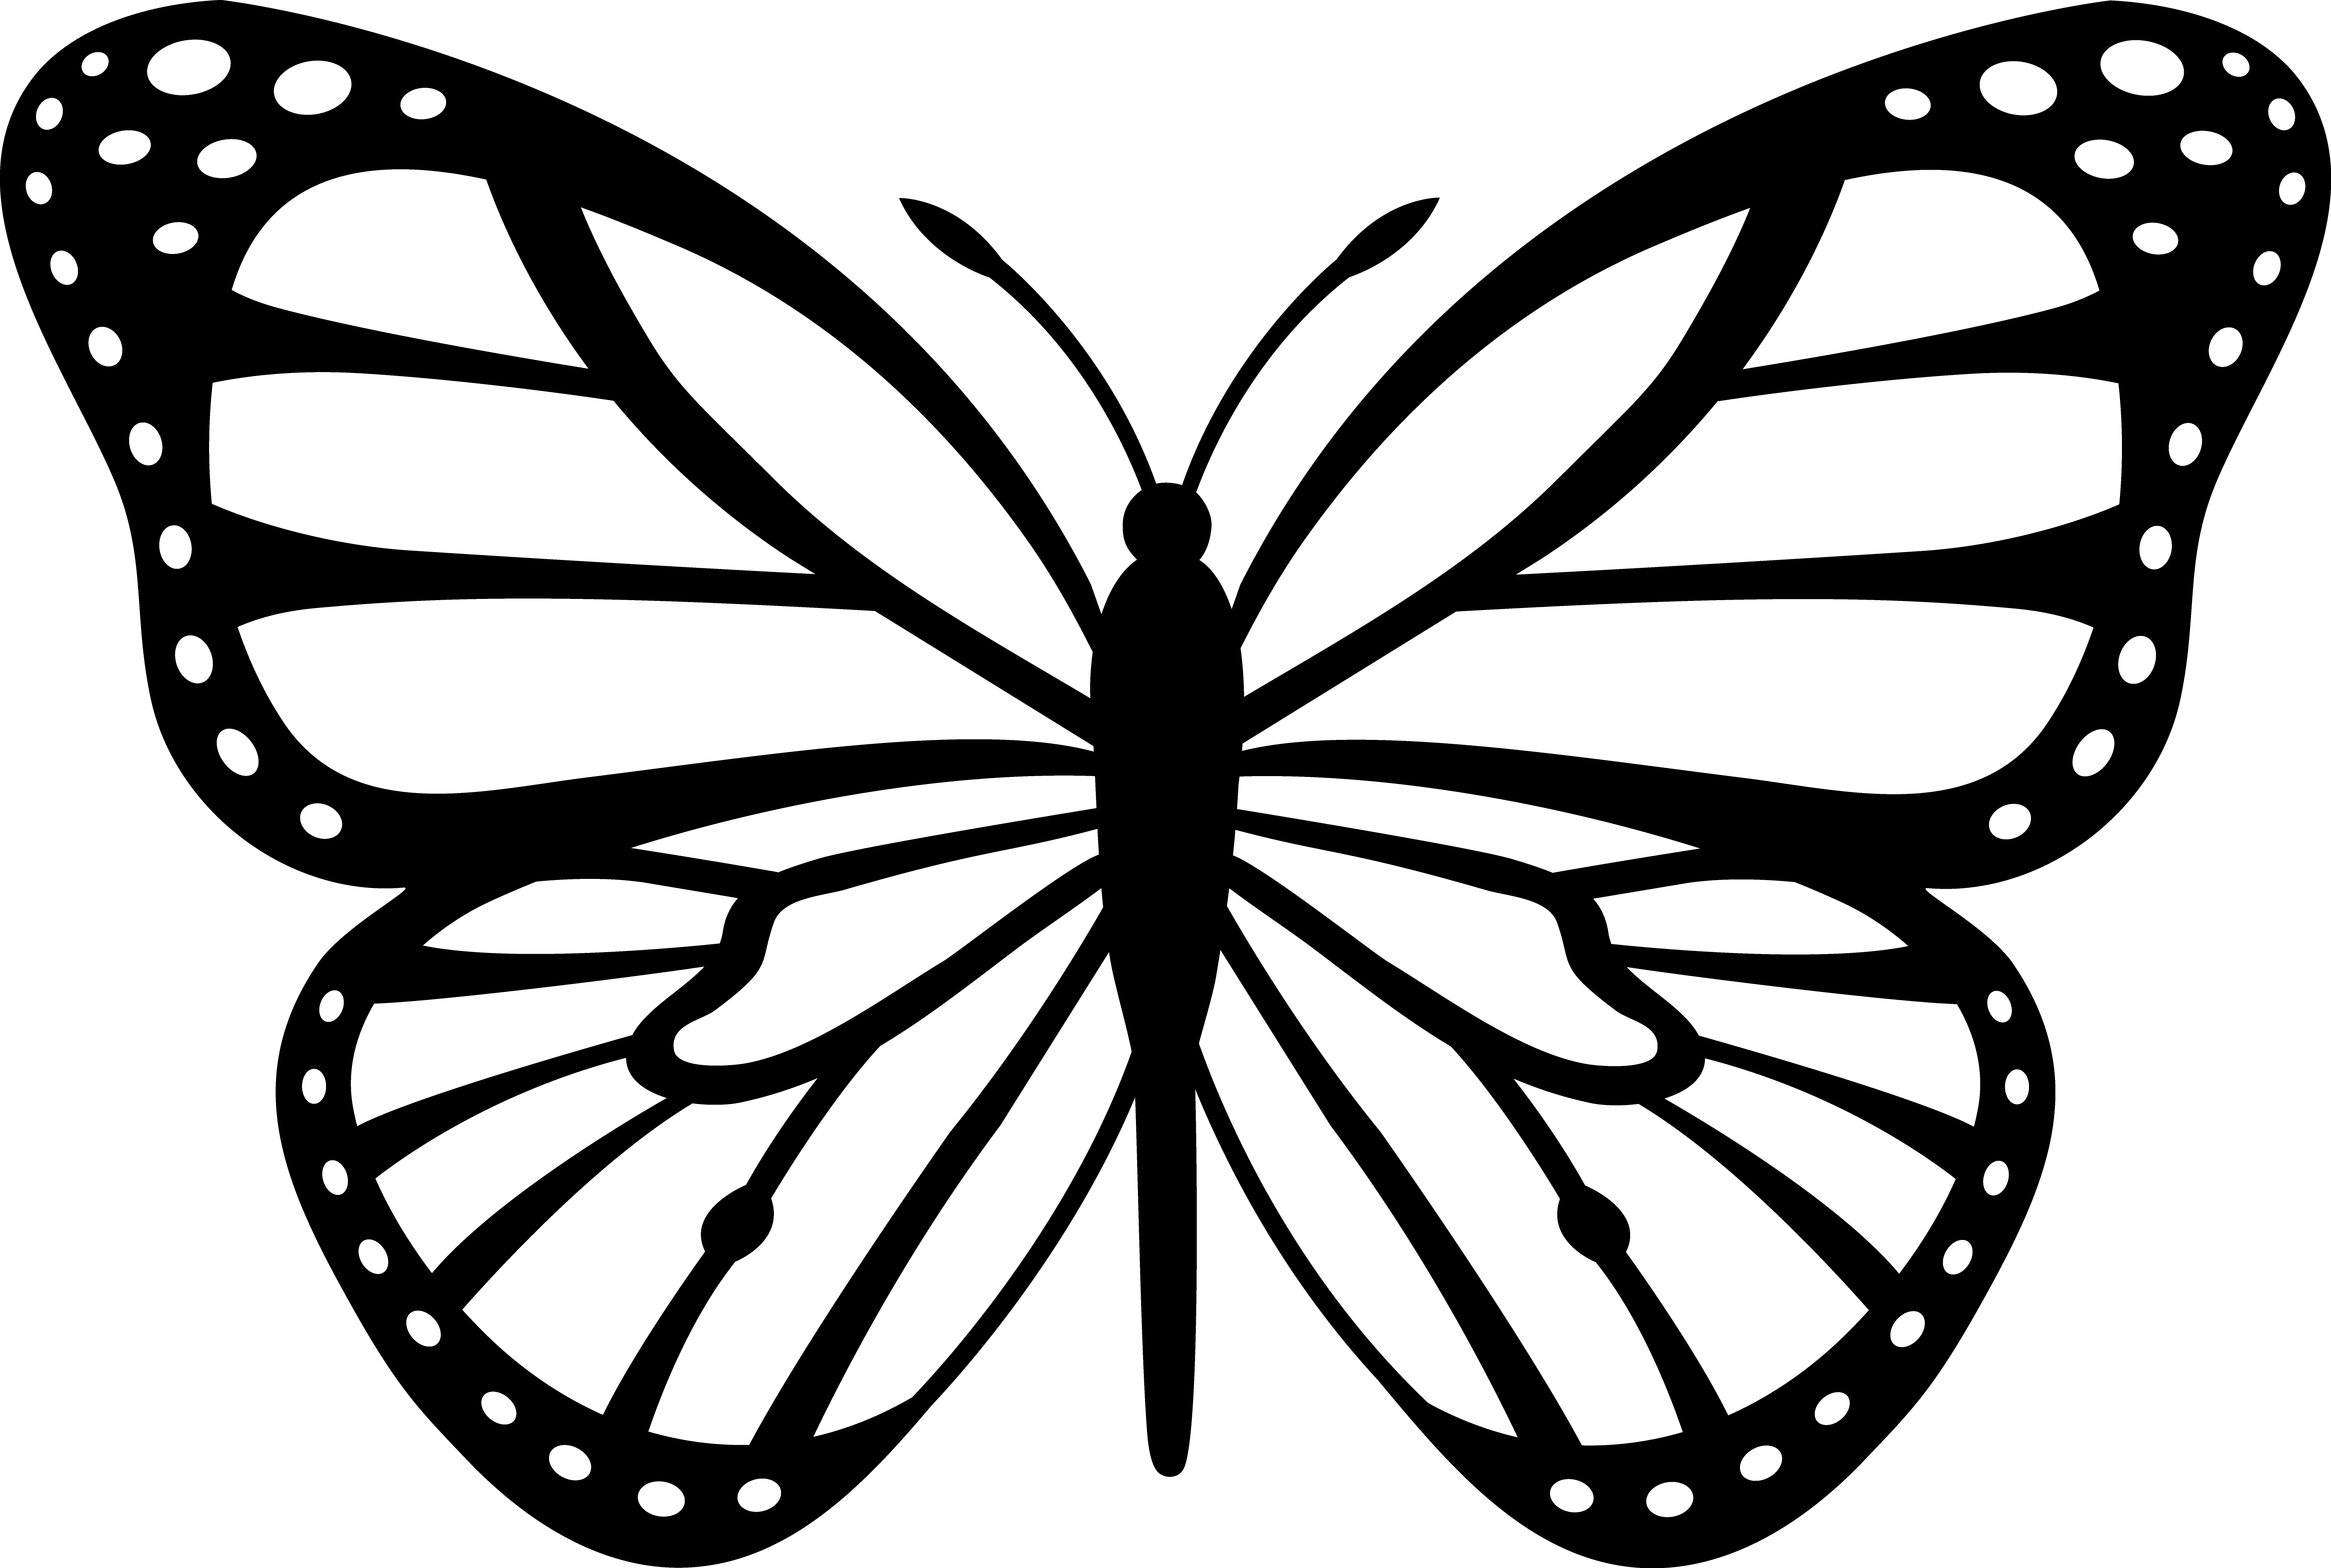
Using the initial guide lines, start outlining the shape of the butterfly's wings. Butterflies have delicate and intricate wing patterns, so take your time and pay attention to the details. You can make your butterfly's wings smooth or add some jagged edges for a more natural look.
Step 4: Adding Details
Now it's time to add some details to your butterfly drawing. You can include the veins on the wings, small dots, or other patterns that match the species of butterfly you want to depict. Take inspiration from real butterfly images or let your imagination guide you.
Step 5: Erasing Unnecessary Lines

Once you are satisfied with your butterfly outline and the added details, carefully erase any unnecessary guide lines or stray marks. This will help clean up your drawing and make it look more polished.
Step 6: Adding Colors

Now comes the fun part - adding colors to your butterfly drawing! Use colored pencils or markers to bring your butterfly to life. Research different butterfly species to get ideas for color combinations, or let your creativity run wild and invent your own unique butterfly design.
Step 7: Shading and Blending

To make your butterfly drawing look more realistic, consider adding shading and blending to create depth and dimension. Use a lighter and darker shade of each color to add highlights and shadows, giving your butterfly a three-dimensional appearance.
Step 8: Final Touches
Now that your butterfly drawing is complete, take a step back and evaluate your artwork. Add any final touches or details that you feel are necessary. Once you are satisfied, you can sign your artwork and showcase it proudly.
Conclusion
Drawing a butterfly outline is a rewarding and enjoyable artistic process. It allows you to explore your creativity and create stunning butterfly artwork. Remember to have fun and experiment with different colors and patterns. With practice, your butterfly drawings will continue to improve, and you may even develop your own unique style. So grab your materials and start drawing beautiful butterfly outlines today!
